


 Membership
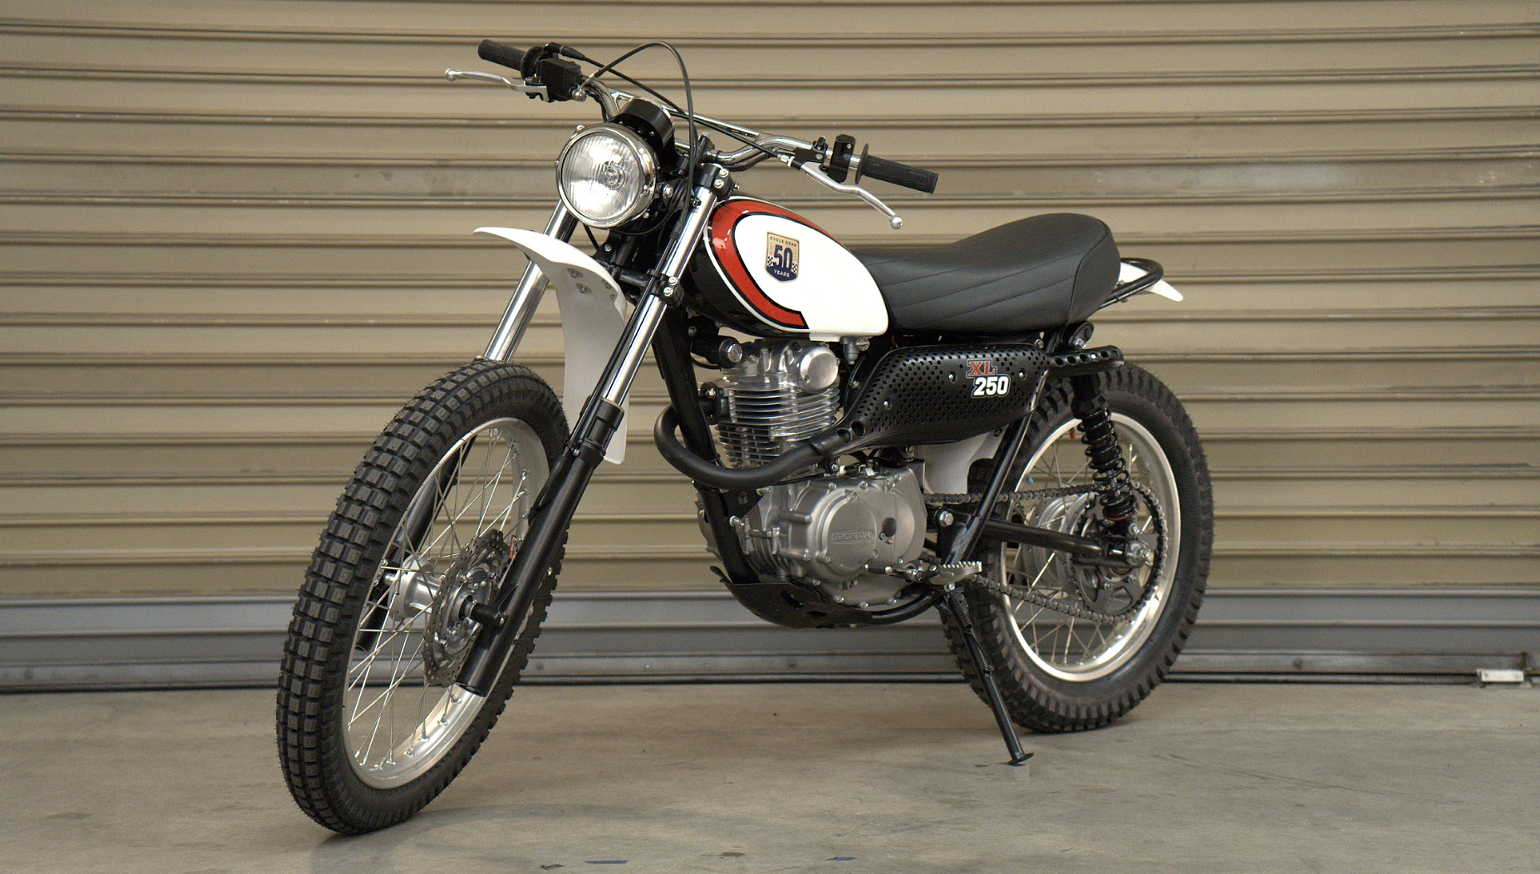
Factory correct restorations aren’t my thing. I respect vintage bikes, but I also appreciate the progress motorcycling has made in recent decades. So when there are clear and significant improvements to be had when fixing up an old machine, I take ‘em.
I leaned into that “Do we have a better option today?” ethos while rebuilding a 1974 Honda XL250 dual-sport for Cycle Gear’s 50th Anniversary Sweepstakes. Since I was spending Comoto’s money, I burrowed deep into the rabbit hole of gadgets and upgrades to make this 50-year-old Honda into the modern-retro bike I would want in my garage.
To be clear, if someone is hankering for a vintage bike I try to steer them toward one of the many retro-themed models available today, since relying on old equipment is a risky endeavor best reserved for YouTube shows where roadside fixes are part of the entertainment. Vintage bikes can be like bug zappers that lure you in with charm and then burn you with reliability and performance problems, so if you’re serious about having an old bike as a daily rider, then you should be prepared to go through it from top to bottom first.
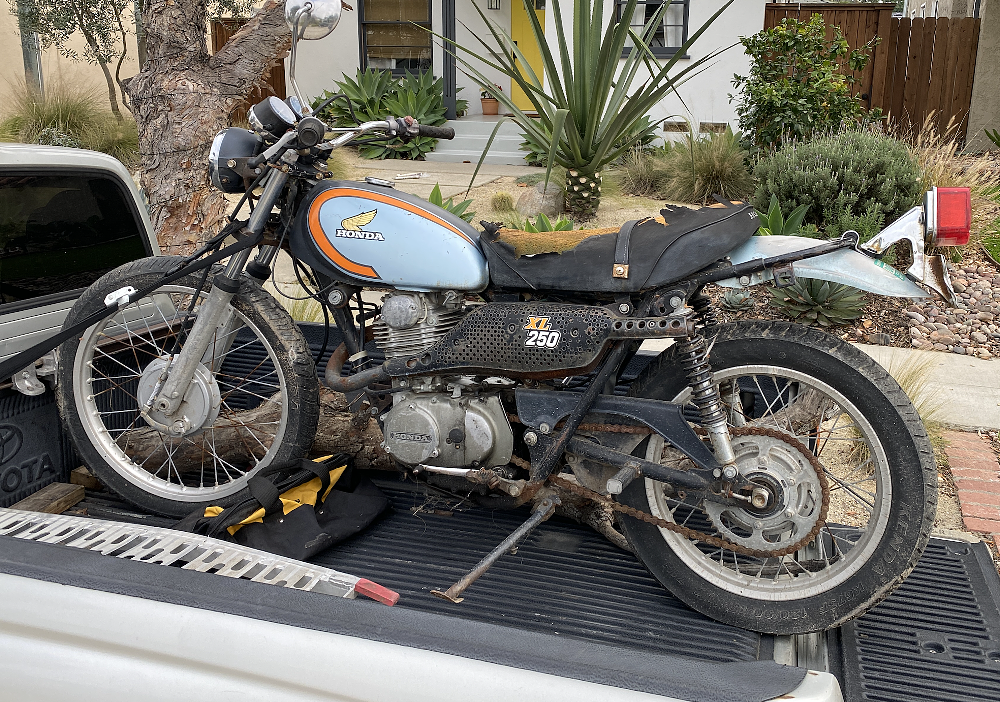
A carb rebuild, new tires, a fresh battery and the like are expected work, but with the XL250 I went deeper. A lot deeper. Looking back on everything that went into this four-month build, there are a handful of indulgent mods and upgrades that were especially effective and satisfying.
Electronic ignition
Luddites will argue that points ignition systems are perfectly reliable and not that much work to maintain. I call BS. If a conversion kit is available, upgrading to a modern solid-state ignition system is the single best thing you can do to make your old bike start and run better. It eliminates all maintenance and provides stronger and more consistent spark at all rpm, just like a modern bike. It likely also comes with a 12-volt charging coil and solid-state regulator/rectifier, so you can upgrade your battery and lighting, as well. I got the XL’s kit from regulatorrectifier.com, but Charlie’s Place is also a great site that specializes in old Hondas.

If a search doesn’t yield a kit for your bike, at least use OEM breaker points, since aftermarket parts can be problematic. It’s also a good idea to replace or at least thoroughly inspect the condition of your spark-plug wire and boot, because any damage may allow current to leak, causing confusing running issues.
Wiring
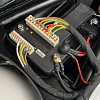
Brittle, damaged wiring and connectors are a common problem on old bikes, and electrical issues are my least favorite thing to troubleshoot, so I built the XL250 an entirely new wire harness.
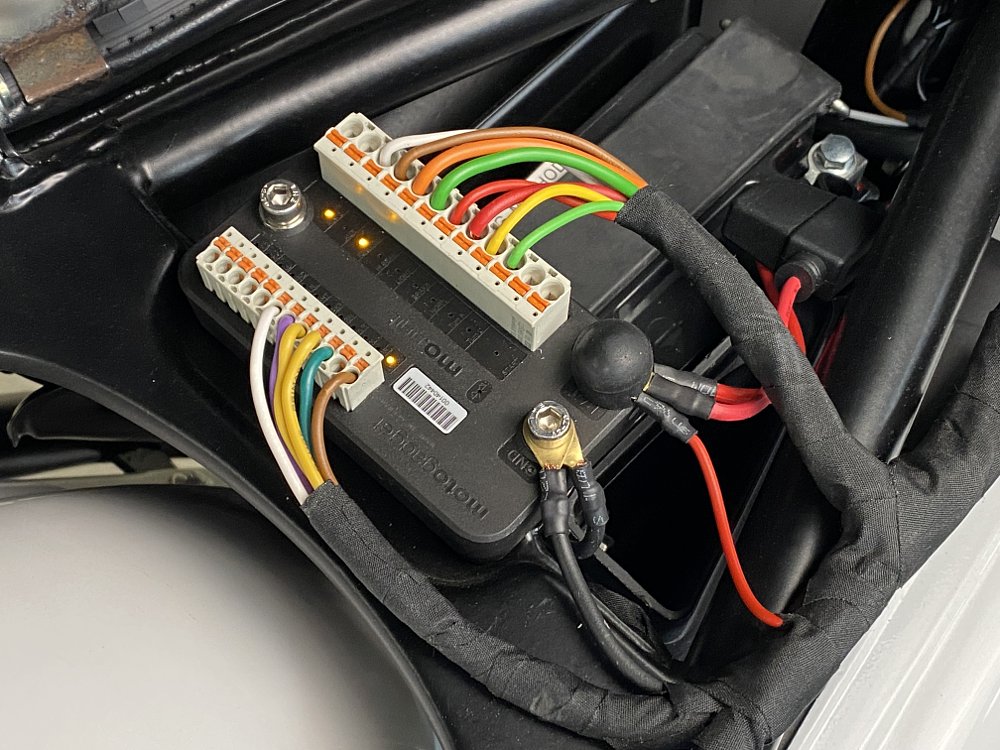
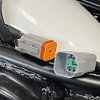
At the center, Motogadget’s mo.unit power distribution device. My colleague Patrick Garvin recommended it for this build, and I’ll forever be grateful. This is one impressive piece of kit that manages all the bike’s circuits with a streamlined one-wire-in, one-wire-out design, status LED for each branch, integrated breakers, and more. It’s also Bluetooth-enabled so you can configure it on your phone and do things like have your turn signals operate as running lights, or make your brake light flash. It also has a built-in alarm system, and on bikes with electric start, your phone can act as a key fob, so you can hop on the bike, stab the starter, and go.
If you’re going to rewire a bike, integrating a mo.unit is a fantastic way to modernize the electrical system and eliminate old, crusty components. There are other, lower-cost power-distribution devices from Rowe and Denali, but they have fewer features and branches.
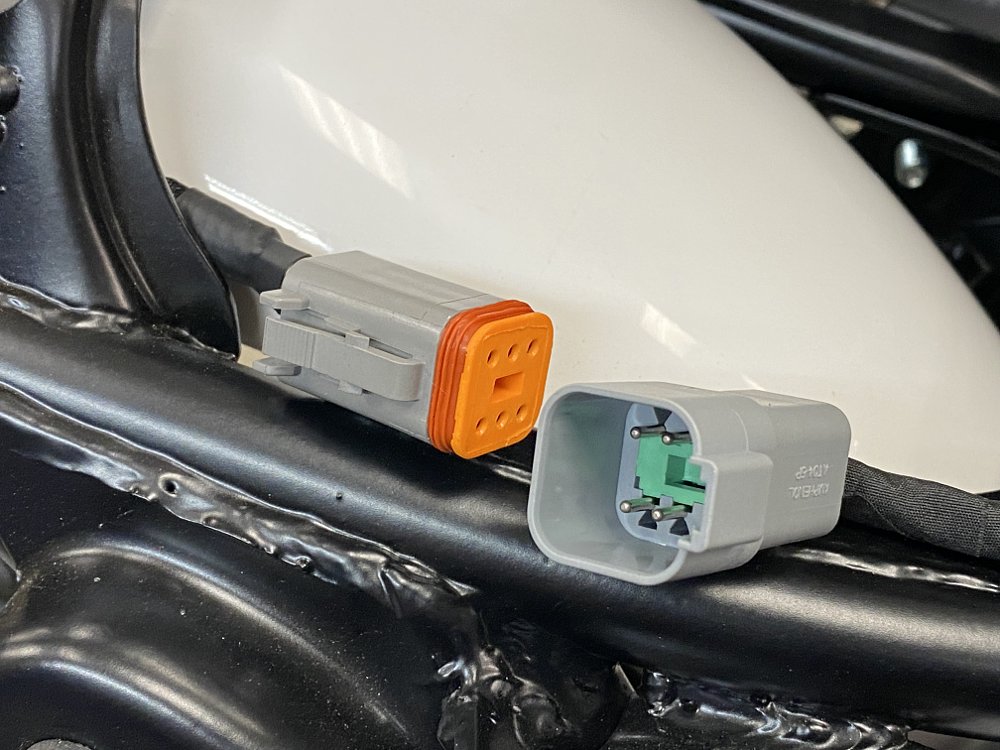
Finally, I tied everything together with Deutsch connectors. I’ve used vintage-style crimped connectors extensively in the past, but the sleek, waterproof Deutsch parts are easier to assemble and far superior in terms of fit. You can even pop the pins out of the connector body easily when you (invariably) realize you need to re-route the wiring or make some other change.
Custom laser cutting
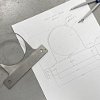
I had some very specific ideas for the XL’s cockpit, namely simplifying and streamlining it as much as possible and tucking the Motogadget Chronoclassic speedometer tight against the headlight shell. For that, a custom bracket was the only option, and I couldn’t figure out a way to make it with the equipment I had on hand. Rather than compromising my design, I started looking around for outside services that could make the part for me. And wow, there are a lot of options.
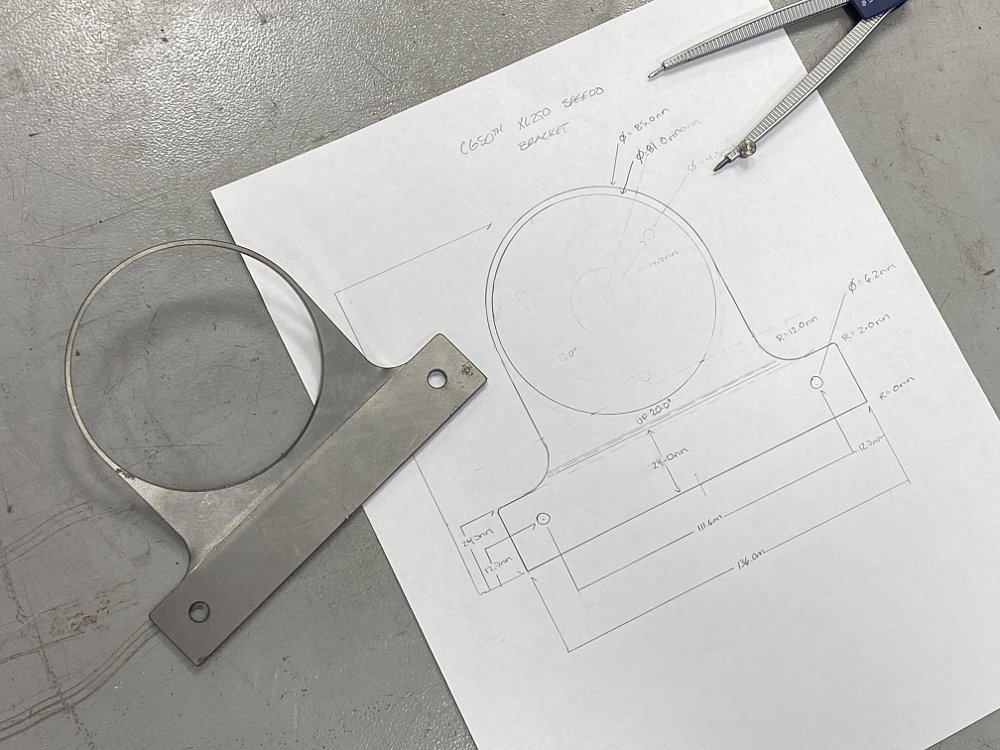
Whether it’s an online service like OSH Cut or SendCutSend or you turn to your local MotoAmerica pro racer’s family business, for those with the equipment, whipping up a custom bracket or other laser-cut and CNC-bent component is child’s play. I had no idea you could turn a drawing into a part so fast, and so affordably.
Fancy finishes
From here, we veer into a world of aesthetics where I rarely tread. I don’t like to tug at the thread of finishes, because as soon as you repaint one component or spiff up a part, it stands out like misplaced, punctuation. With the XL, everything got spiffed up, and I got experience with some processes and finishes I’d never worked with before, but will certainly employ again.
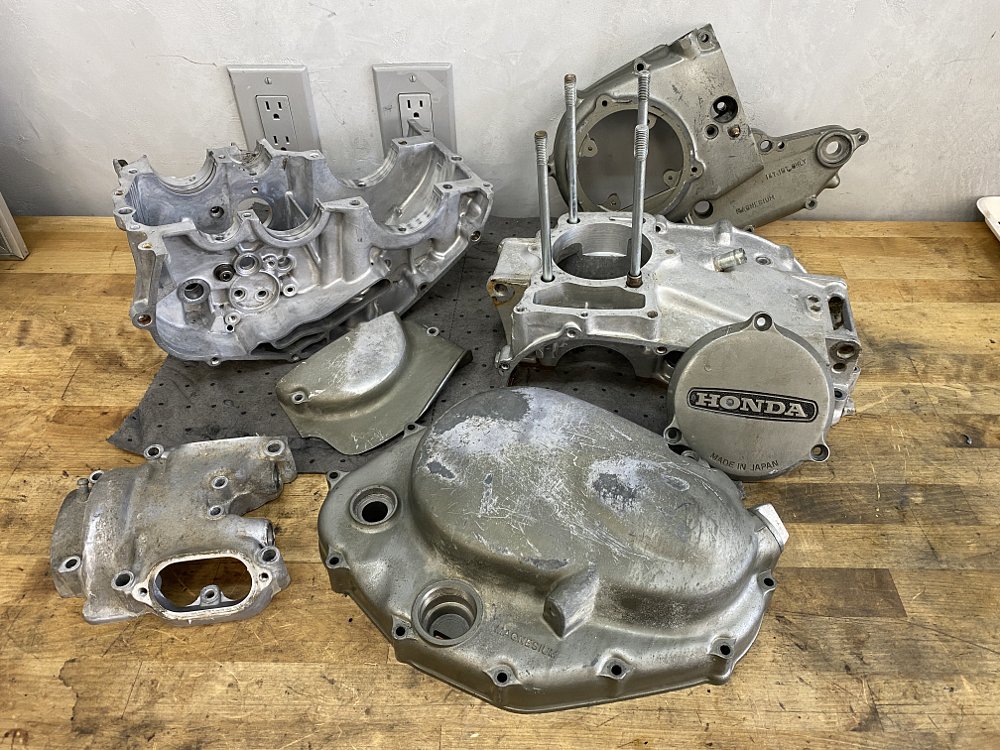
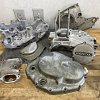
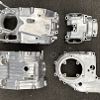
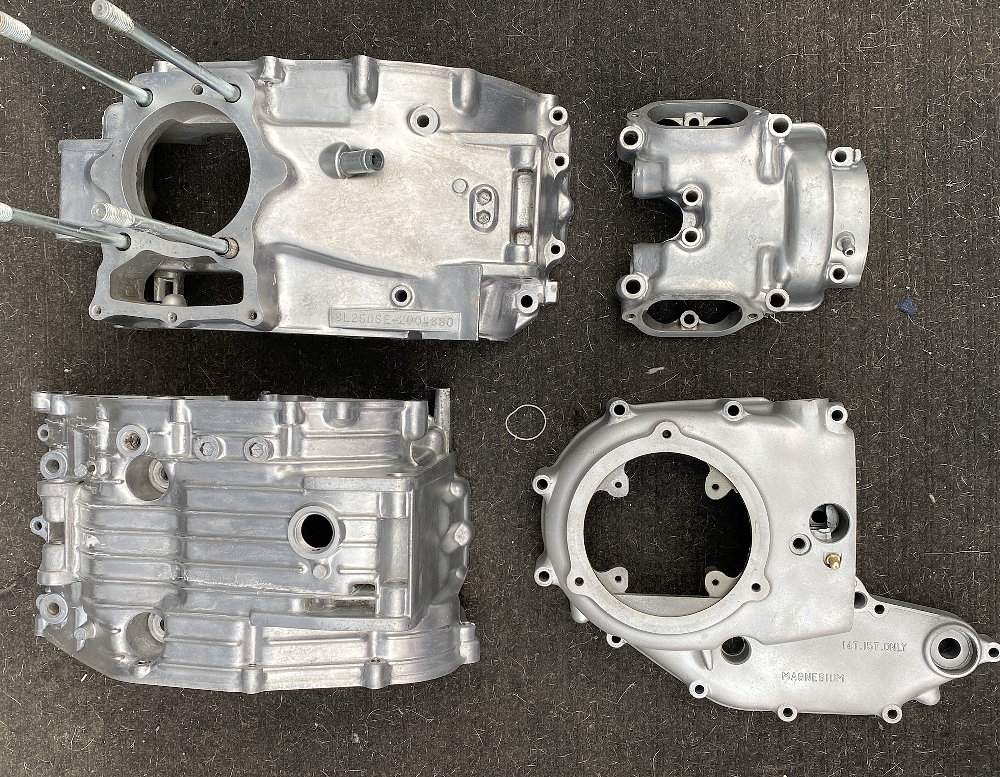
Vapor honing is a magical process that restores metal surfaces to like-new condition, and I used West Coast Restoration Service’s honing cabinet to take the XL’s engine from crusty and hazy to factory fresh. Vapor honing uses a combination of water, compressed air, and light abrasives to remove corrosion and oxidation without eroding the underlying surface. You simply sweep the gun over the item and watch your part transform like a frog kissed by a princess. It’s unbelievably satisfying, and fairly meditative, too.
Powder coat and Cerakote finishes were used extensively on the XL to restore a variety of parts and protect them for decades to come. Powder coating is a baked-on finish that’s incredibly durable and resistant to scratches and chemicals. It’s also fairly thick, so it helps hide surface imperfections and give parts a smooth appearance. I used to have a Harbor Freight powder-coat gun and a toaster oven to cook small parts, but I used the professional services of Specialized Coatings to tackle the frame, swingarm, and other components.
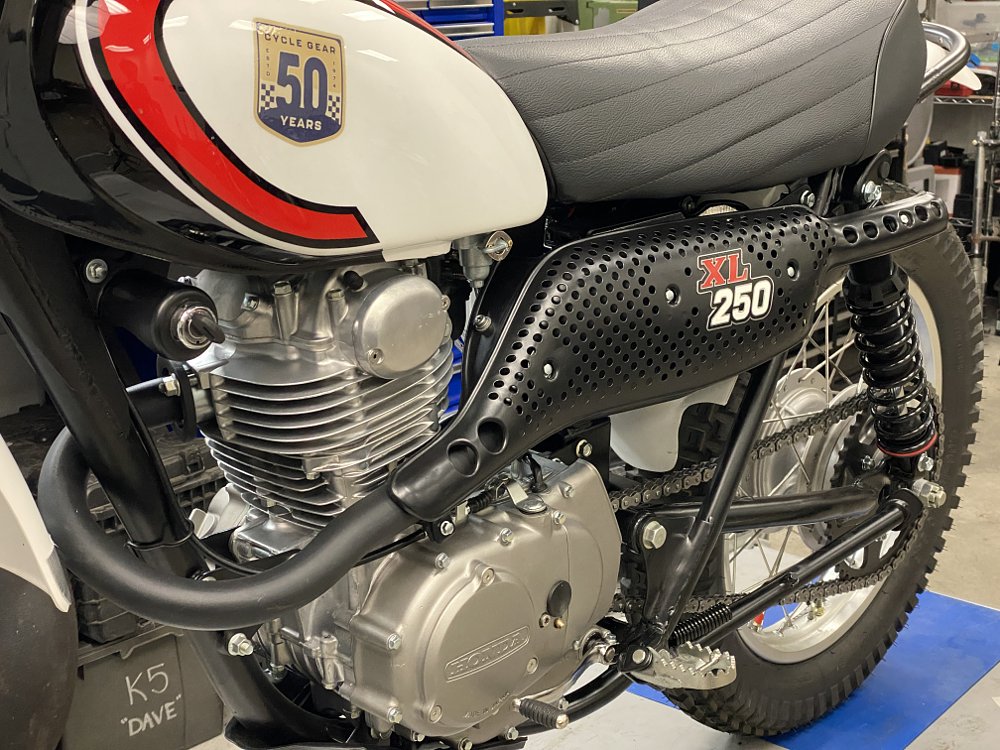
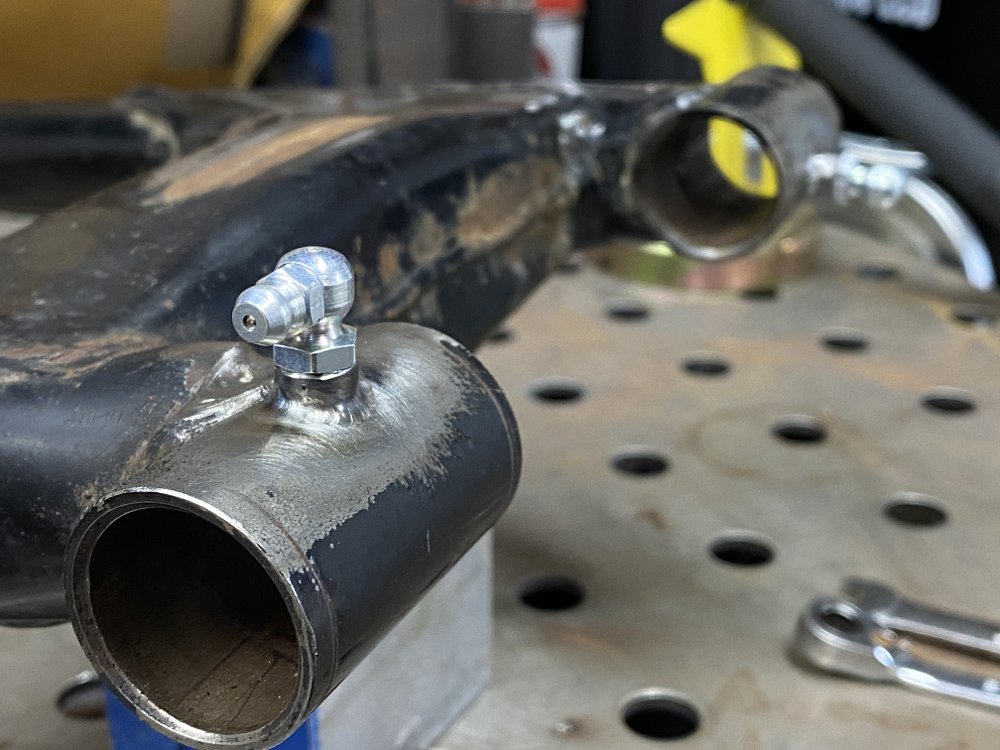
Cerakote is a ceramic-based technology that’s similar to powder coat but much thinner (just a few microns thick) and far more heat resistant (it withstands temps of 2,000 degrees F or more, so is your only option for exhausts). The XL’s pipe was heavily corroded and required a lot of welding, grinding, and smoothing to be a candidate for Cerakote, but it looks new now. Retaining the original high pipe with its cheese-grater heat shield and badge were a priority for me.
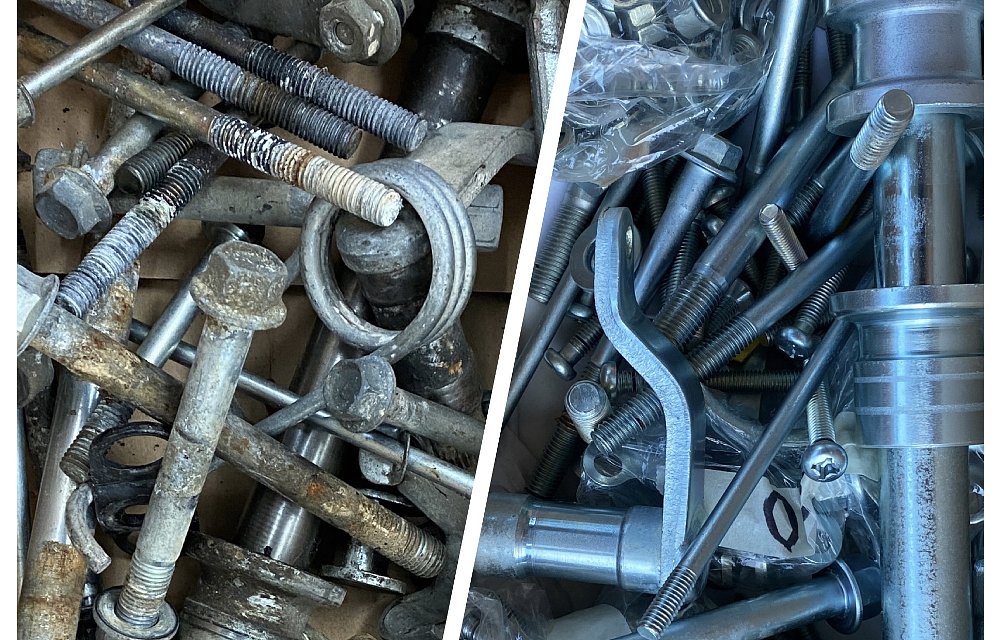
For the bike’s bright finishes, I delved to the bottom of the rabbit hole and dropped parts off at S&K Plating. Getting parts zinc- and chrome-plated seemed extreme to me at first, but it’s no more expensive or time-consuming than having parts painted or powder coated. In fact, clear zinc plating is quite affordable, especially compared to sourcing NOS parts (if they’re available).
In the end, every part and aspect of the XL250 was refinished, refurbished, repaired, or replaced. Purists may say this “old” Honda is the two-wheeled equivalent of the Ship of Theseus, but it’s what I think a proper restomod should be and is exactly the vintage build I’d want for myself. Alas, I’m not eligible for the giveaway, but you better believe I’ll be riding the bike until a winner is selected later this summer.
And that winner could be you! Sign up for the Cycle Gear 50th Anniversary Sweepstakes for a chance to win this bike, as well as a 2024 Honda Transalp. Good luck!